Hello Friend's, Today's nail art is a very delicate one using these gorgeous pearl studs, which are from BornPrettyStore. I won these pearl studs from BornPrettyStore in a giveaway a while ago. After I received them I wasn't sure what I wanted to create with them. I didn't want to use them on just some plain nails or beach themed nails, so I waited a while before I could come up with something that I really liked. So these negative space nails is what I came up with. To purchase the pearl studs you can click HERE, Product Code # 21657 and get 10% OFF your order by using a special coupon code QANX31. The lavender polish used here is OPI Infinite Shine's In Pursuit of Purple and silver polish used is Sally Hansen's Celeb City.
May 8, 2016
May 6, 2016
Tutorial: Cinco De Mayo Nails
Hi Friends, I created a step-by-step tutorial for you all for the colorful Cinco De Mayo nail art from my last post.
For this nail art you would need -
1. Nail Polishes.
2. Stripping Tape.
3. Top Coat.
4. Base Coat.
5. Scissors.
6. Dotting Tool.
7. Thin Nail Art Brush.
Step 1. To start, first paint your nails with a base coat to protect your nails.
Step 2. When the base coat is dry, on top of it paint your nails with a base polish. I used Formula X's Dainty White polish. Make sure you polish dries completely, before you attempt step 3.
Step 3. Cut the stripping tape using scissors into multiple stripes and stick them on the nail as shown in the picture below. Make sure they are sticking to the nail and are not loose.
Step 4. Color the red and green blocks as shown below. I used Dior's Rouge for Red and Revlon's Emerald City for Green.
Step 5. Now slowly remove the tape around green and red blocks.
Step 6. In between the remaining tape block, create red chevron or zig-zag pattern using a thing nail art brush.
Step 7. Fill red on one side of chevron and on the top of the nail add yellow nail polish. I used Zoya's Darcy for yellow.
Step 8. Remove all the remaining tape.
Step 9. Add green dots near the chevron design as shown below.
Step 10. Seal the design with your favorite top coat. I used Formula X's top coat.
For this nail art you would need -
1. Nail Polishes.
2. Stripping Tape.
3. Top Coat.
4. Base Coat.
5. Scissors.
6. Dotting Tool.
7. Thin Nail Art Brush.
Step 1. To start, first paint your nails with a base coat to protect your nails.
Step 2. When the base coat is dry, on top of it paint your nails with a base polish. I used Formula X's Dainty White polish. Make sure you polish dries completely, before you attempt step 3.
Step 3. Cut the stripping tape using scissors into multiple stripes and stick them on the nail as shown in the picture below. Make sure they are sticking to the nail and are not loose.
Step 4. Color the red and green blocks as shown below. I used Dior's Rouge for Red and Revlon's Emerald City for Green.
Step 5. Now slowly remove the tape around green and red blocks.
Step 6. In between the remaining tape block, create red chevron or zig-zag pattern using a thing nail art brush.
Step 7. Fill red on one side of chevron and on the top of the nail add yellow nail polish. I used Zoya's Darcy for yellow.
Step 8. Remove all the remaining tape.
Step 9. Add green dots near the chevron design as shown below.
Step 10. Seal the design with your favorite top coat. I used Formula X's top coat.
May 5, 2016
Cinco De Mayo
Happy Cinco De Mayo friends. Today on the occasion of this festive day I decided to create some Mexican Design inspired nails. Hope you all will like it. Polishes used are - Formula X's Dainty, Revlon's Emerald City, Dior's Rouge and Zoya's Darcy.
May 2, 2016
Hello May!
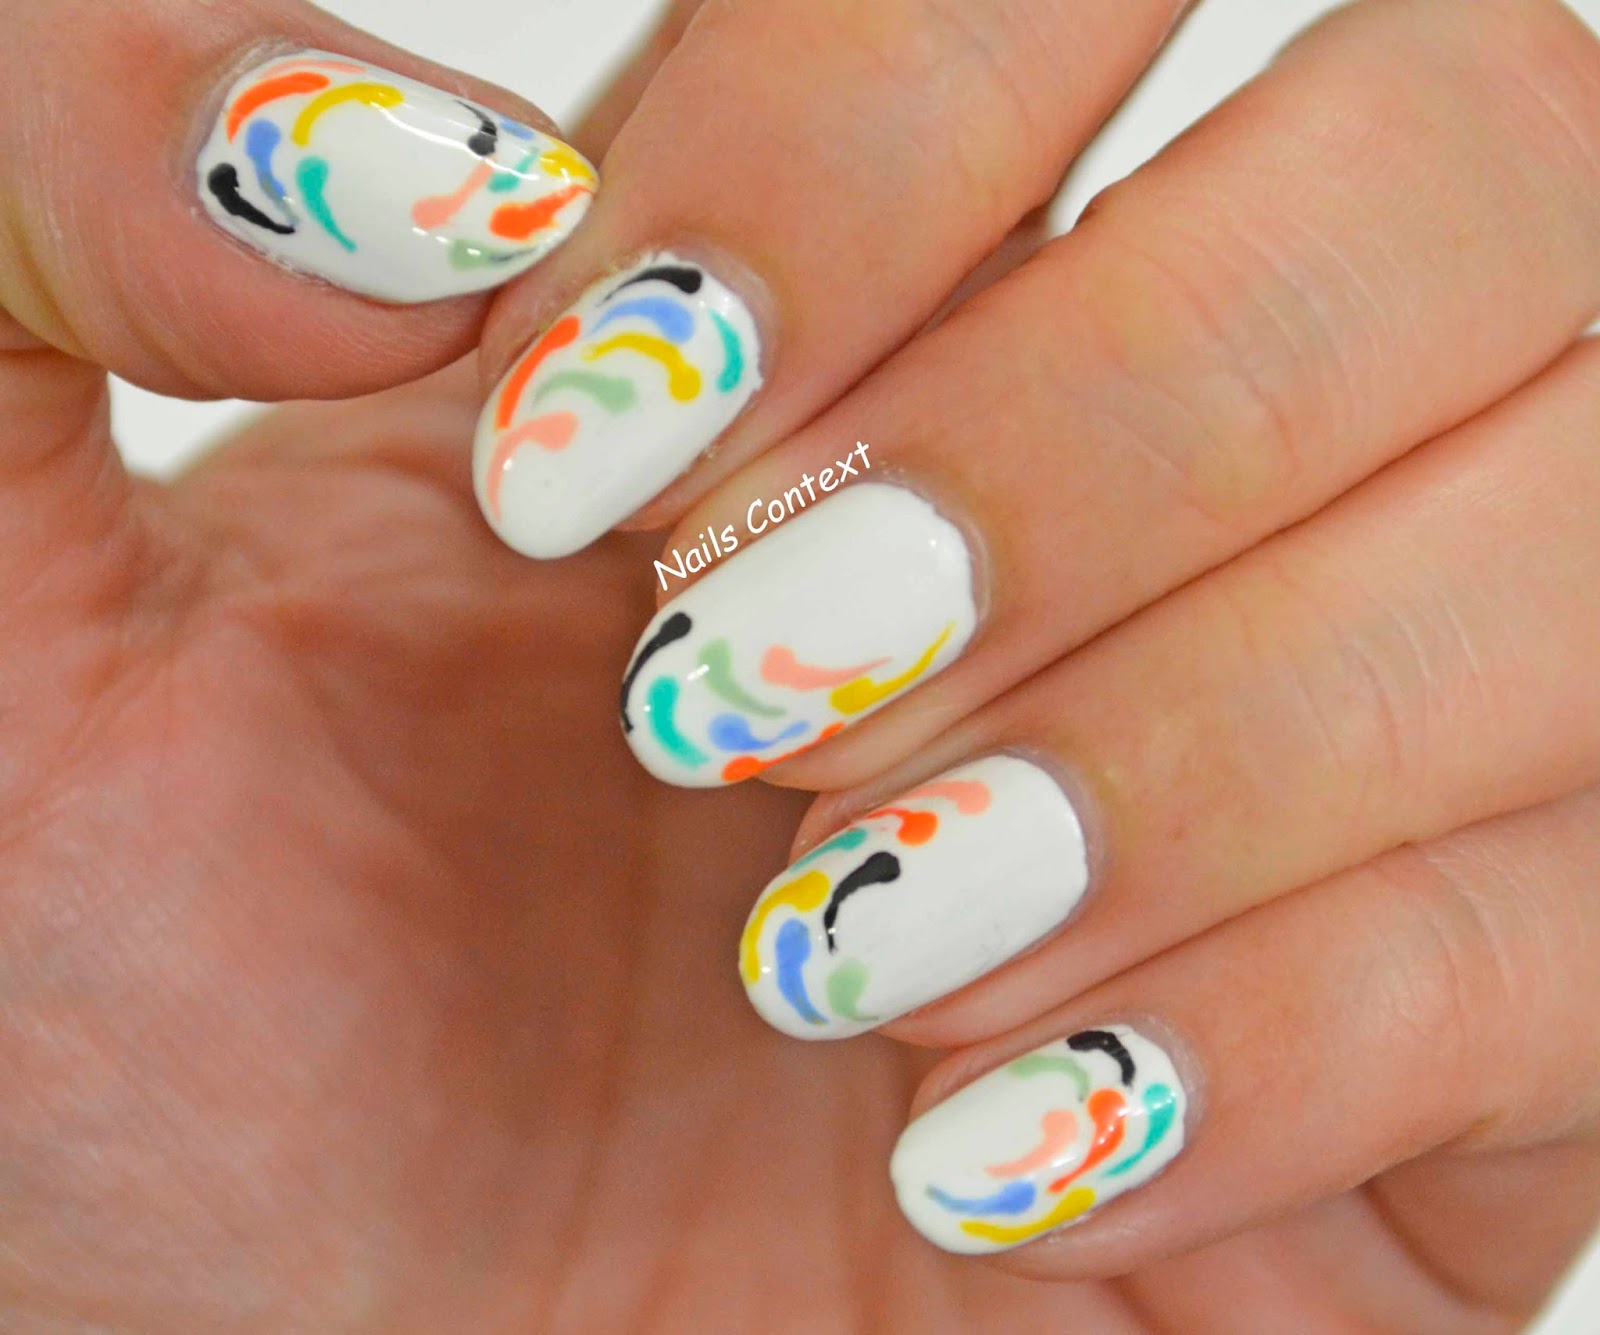
Hello May. It's nice to meet you. Today's nail art is inspired by the new Tory Burch Sport collection. I really liked the multi color design and created it on my nails. I created this design free-hand using multiple nail polishes. Hope you all like it :)
Here is the inspiration image:
Apr 30, 2016
MonthlyManiFavorites: April 2016
Hello friends. It's end of April and you know what that means on this blog, choosing your favorite nail art from the month. Which one is your favorite from below pic?
Also don't forget to follow NailsContext on your favorite Social Media platform-
Facebook
Instagram
Google+
Twitter
Pinterest
YouTube.
Also don't forget to follow NailsContext on your favorite Social Media platform-
Google+
YouTube.
Apr 27, 2016
Watermarble Stencils
Hello Friends. Watermarble is a popular nail art technique, but even though it gives beautiful results, I personally don't like it. The reason is the mess it creates and the amount of nail polish that gets wasted while creating it. SO I have used this technique only once before. Then I came across these lovely watermarble stencils from Stick It Nail Vinyls and decided to give it a try. Here are my creation using these vinyls and I like how they turned out. Polishes I used are OPI's Non-Stop White, Sally Hansen's Grey Cement and Sinful Colors Innocent. I added some black dots after using the vinyls using Formula X's Dark Matter. Hope you all like the results.
Apr 24, 2016
Zoya Chantal
Hello Lovelies, today I am sharing swatch of my latest neutral shade which is called Chantal from Zoya. This is a pale beige shade with the formula being very very thin. For the pics below I used 3 coats but as you can see it is very very light and not fully opaque. This shade is from Zoya's Spring 2014 collection.
Subscribe to:
Posts (Atom)