Showing posts with label Silver. Show all posts

Jan 27, 2021

Zoya | Trixie

I realized I didnt share a lot of swatches in 2020, so I decided to share swatch of my favorite silver nail polish - Zoya's Trixie. As you can see I have used this polish quiet a lot. This shade is a light silver with a sparkling metallic foil finish. I used two coats of polish here and I use it a lot of time as the base polish. You can see some of my nail art using this polish HERE and HERE.

Nov 28, 2018

Frozen Icicles

Hello All. Today I have frozen silver icicle nail art for you all. I made this free hand using polishes Formula X's Provocative and Zoya's Trixie.

Jun 18, 2018

Color Club Enchanted

Hello All! Today I have swatch of a gorgeous silver Holographic polish - Color Club's Enchanted. This is a linear holographic polish with rainbow scatters. Even the holo sticker on the bottle is amazing :) For the pictures below I used 2 coats of polish and no top coat. I have used this polish before as base in a nail art here.


Jan 23, 2017

Winter Glam

Sharing some winter glam nail art with you all. I used Cupcake Polish's What in Carnation? as the base blue, on that I free-handed OPI's Super Star Status. Then using a dotting tool I added black and white dots on the top. Hope you all like this winter glam look. Enjoy!!!

Mar 23, 2016

Gold and Diamonds

Hello Hello. I am very excited about today's blog post. I am sharing some swatches of new Fun Lacquer polishes. I have been eyeing them for a while and finally caved in and bought these two. (To see swatches of previous Fun Lacquer polishes click HERE.)

The first one is called 24 Karat Diamond. This is a silver holographic glitter polish. The type of glitter used here is much more sparkling than the regular glitter, so it sparkles like crazy when in sunlight, with multicolor sparks bouncing all around. The drying time is one thing that isn't very fast for this, but I don't care you can always use top drying coat for that. For the pictures below I used 3 coats of 24 Karat Diamond, without any top coat.


The second polish is Million Dollar Dream. This is a golden holographic glitter polish. Again this one is too, more sparkly than the regular glitter polishes and the effect in the sunlight is gorgeous. For pictures below I used 3 coats as it wasn't opaque enough in 2 coats. I also did not use any top coat.


Both these polishes retail at $16.00 USD each. Hope you enjoyed this post. To see more Holographic Polishes, click HERE.

Dec 18, 2015

OPI Starlight Collection

Hello friend's, today the nail polishes I am reviewing are from OPI Starlight Holiday 2015 Collection. I got 2 glitter polishes from this collection and here are there swatches.

The first polish is called Super Star Status. I have been lookout for a silver glitter polish for ages and Super Star Status is answer to my prayers. This is not a regular glitter polish. Regular glitter polishes, on a stroke of application, leave only few glitters. This one is overloaded with glitter and I like that. A LOT. Just a single coat is enough to get all that glitter on your nails. For the pictures below I used one coat of the polish and no top coat, to show its liquid sand like texture. It contains silver as well as some gold glitter, the picture below captured more gold tones.


The second polish is called Ce-less-tial Is More. This is a rose gold-ish glitter polish. This has a bit of a silver tone to it as well. The formula, like Super Star Status is good, its easy to get opaque on its own. I used 2 coats and NO top coat for the pictures below. If you want this smooth you'll probably need a top coat, as this one too has liquid sand like texture to it. Apart from rose gold, this polish as multi-color glitter as well which become visible in the light.


After applying these polishes if you are having a hard time removing them, then you can read THIS blog post by me on how to remove glitter polishes easily. Hope you like the swatches.

Jul 14, 2014

Sterling Silver

Sally Hansen recently came out with chrome polishes called COLOR FOIL. This collection includes different metallic chrome polishes and I decided to try out their silver polish. It is called Sterling Silver. It is as the name suggest a metallic silver polish in which the strokes by which the polish was applied are clearly visible. This doesn't bother me as I love metallic polishes. The pictures below are my swatches of this polish from yesterday without a topcoat.

Mar 7, 2014

Moonraker and dots

Moonraker is a polish from OPI's Skyfall Collection from Winter 2012. It is a lovely silvery grey polish and you can see it's swatch here. So I decided to go ahead and do a nail art with this pretty polish.


I started with applying two coats of Moonraker by OPI for the base coat. On top of it, using a dotting tool I added different shapes of black dots. Then on the bigger dots I added tiny silver dots. That's it easy peasy.


I like the silver, grey and black effect in this design. It kinda reminds me of some animal print...not sure which one.


Hope you like this fabulous shade as well.

Nov 21, 2013

Swatches

Hi all, today I am sharing with you all some random swatches of my favorite polishes. If you follow me on Instagram, you probably would have seen these.

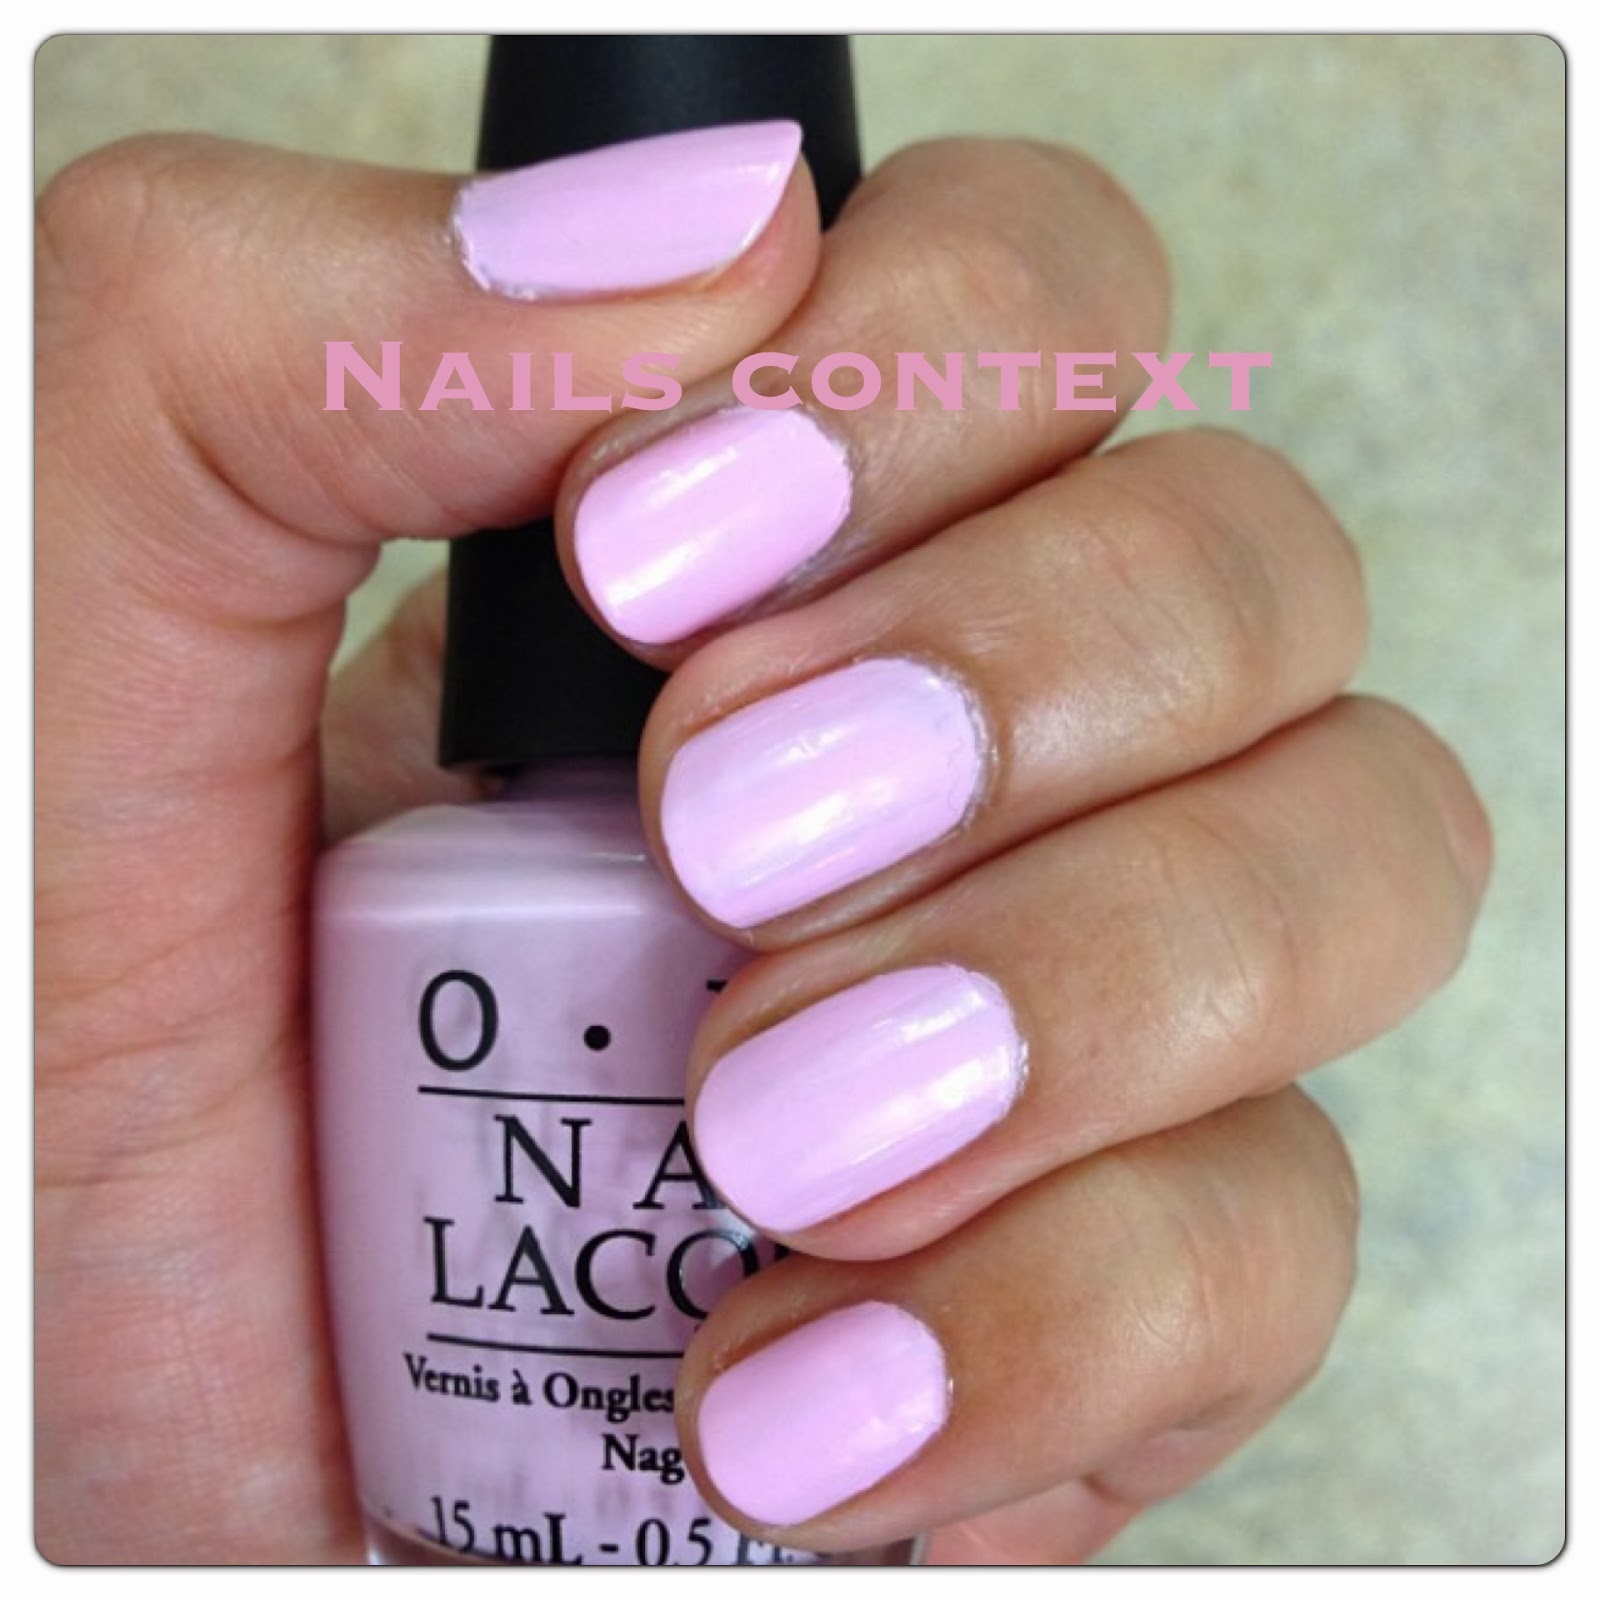
The first one is a very favorite pink of mine called Mod about You from OPI. It is a very lovely light pastel pink with cool tone to it.


The second polish is Cotton Buds from Butter London. There is nothing so say about it except its a plain white polish perfect for nail art base coat. This is my goto white polish for almost all my nail art's.


The third polish is Fowl Play from Orly. Its a dark purple polish packed with blue and red glitter.


The last one is Moonraker from OPI. This polish is from OPI's Skyfall Collection from Winter 2012. Moonraker is a lovely silvery grey polish. Its very streaky when applied but I love these kind of silvery polishes so I like it.


Hope you like all the swatches and start following me on Instagram, if you are already not.

Oct 25, 2013

Halloween Series: Shatter Polish

One of polish's that I find appropriate for Halloween, is the shatter or crackle polishes. Though there is nothing "halloweeny" about them, I think they make a very simple and fun Halloween nail art.
These polishes are very easy to apply. All you have to do is apply a base coat of your favorite color (in my case Ulta’s Moody Blues) and once its dry on top of it apply good amount of shatter or crackle polish. I went with Nichole by OPI's Silver Texture polish.

I have tried different brands of shatter polishes like Sally Hansen’s Crackle, Revlon’s Break Up Coat but so far Nichole by OPI's Texture polish is my favorite one and I use this more than any other’s. One negative thing about this polish is that the polish in the bottle has dried-up really fast.
So just in case you are out of ideas for manicure this Halloween, rush to the nearest beauty supply store and get that shatter/crackle polish to apply as a simple nail design. Hope you liked my idea of Halloween nail art :)