Hello All.
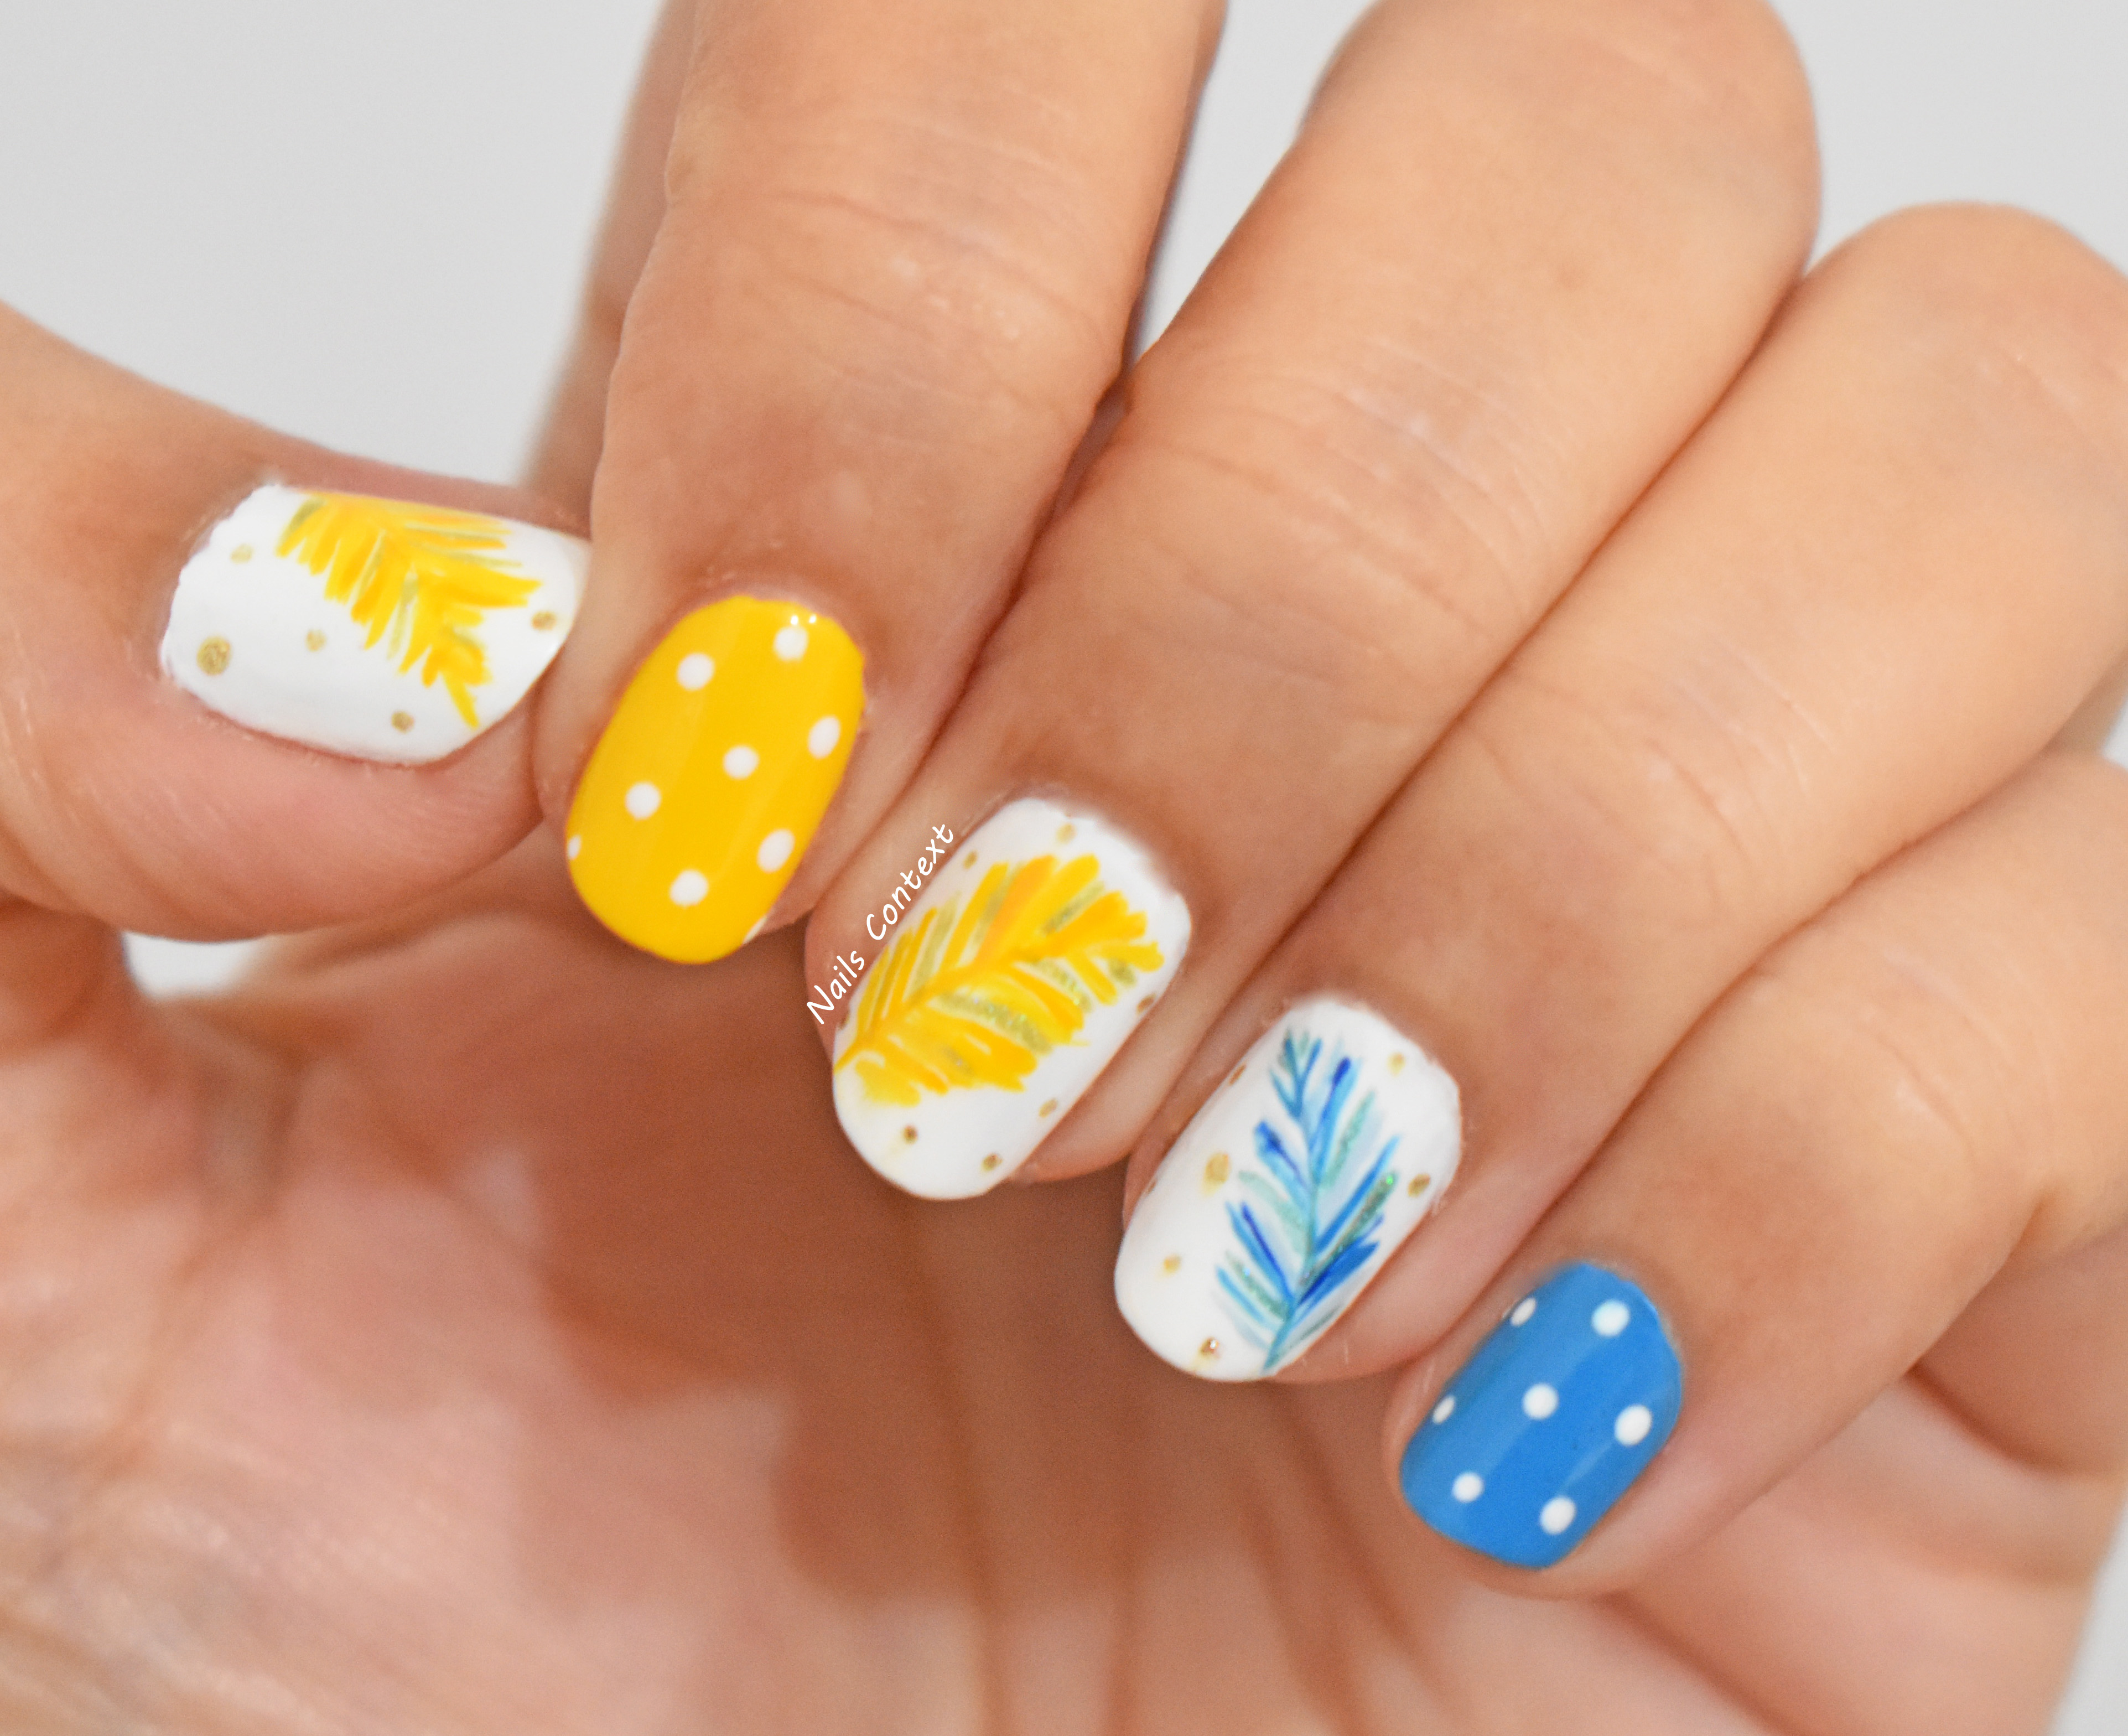
Today I have a nail art inspired by one of my old nails design from 2019 - Feather nails.
I created this one using a fine nail art brush and freehanded the whole design using various nail polishes.
See my previous feather nails by clicking HERE.
Showing posts with label Feathers. Show all posts
Mar 1, 2023
Jun 19, 2019
Ruffled a few Feathers
Hello All, Today I have some freehand feathers nail art for you all. I was looking to create a blue and orange nails to match my dress and came up with this idea. The polishes that I used here are - Zoya's Purity, Ziv, Sawyer, Cora, Blu, Robyn; Kendra Scott's Peach Coral, Formula X's Provocative.
May 5, 2017
Drag Ombre Feather Nails
Hello Lovelies, sharing another one of my recent drag marble designs with you. Polishes used here are - Base white is Formula X's White Matter, polishes used to create the feathers are - ChinaGlaze's Frostbite, Formula X's Provocative and Zoya's Blu. I used a thing brush to create this drag ombre feather look.
Jan 12, 2016
Peacock Feathers
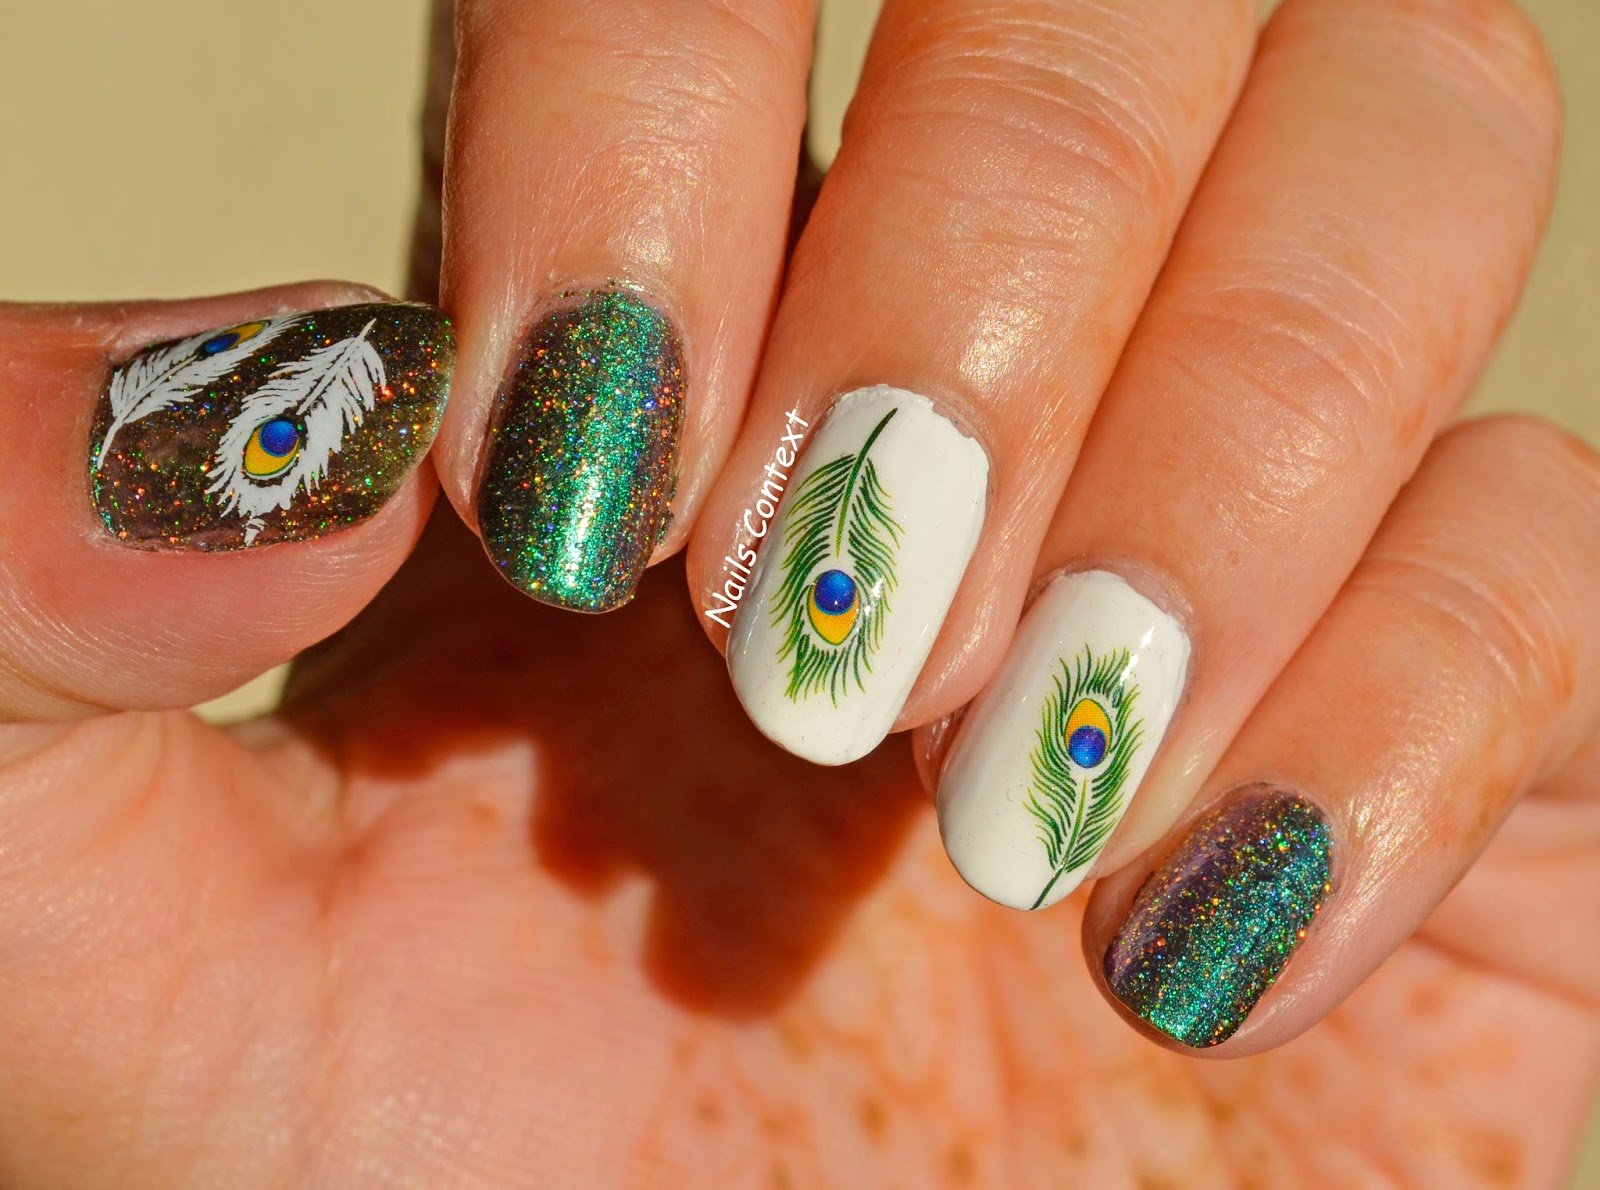
Hello People. Hope you all are having a wonderful 2016 so far. Today's nail art is an easy one. I created it to match one of my peacock feather Sari's in 2015 and couldn't share it until now. The green polish is the beautiful BLESSING(H) from FunLaquer. You can see its swatch HERE. The peacock feathers are done using water decals from BornPrettyStore. I bought these decals a while ago and didn't get a chance to use them till later last year. To purchase them you can click HERE and get 10% OFF your order by using a special coupon code QANX31. There are 2 types of peacock feathers in this sheet, one is white (see pic 4) and one is the regular green peacock feather (see pic 7). To see my previous peacock feather nails, which I did free-hand by clicking HERE.
May 16, 2014
Ruffle the Feathers
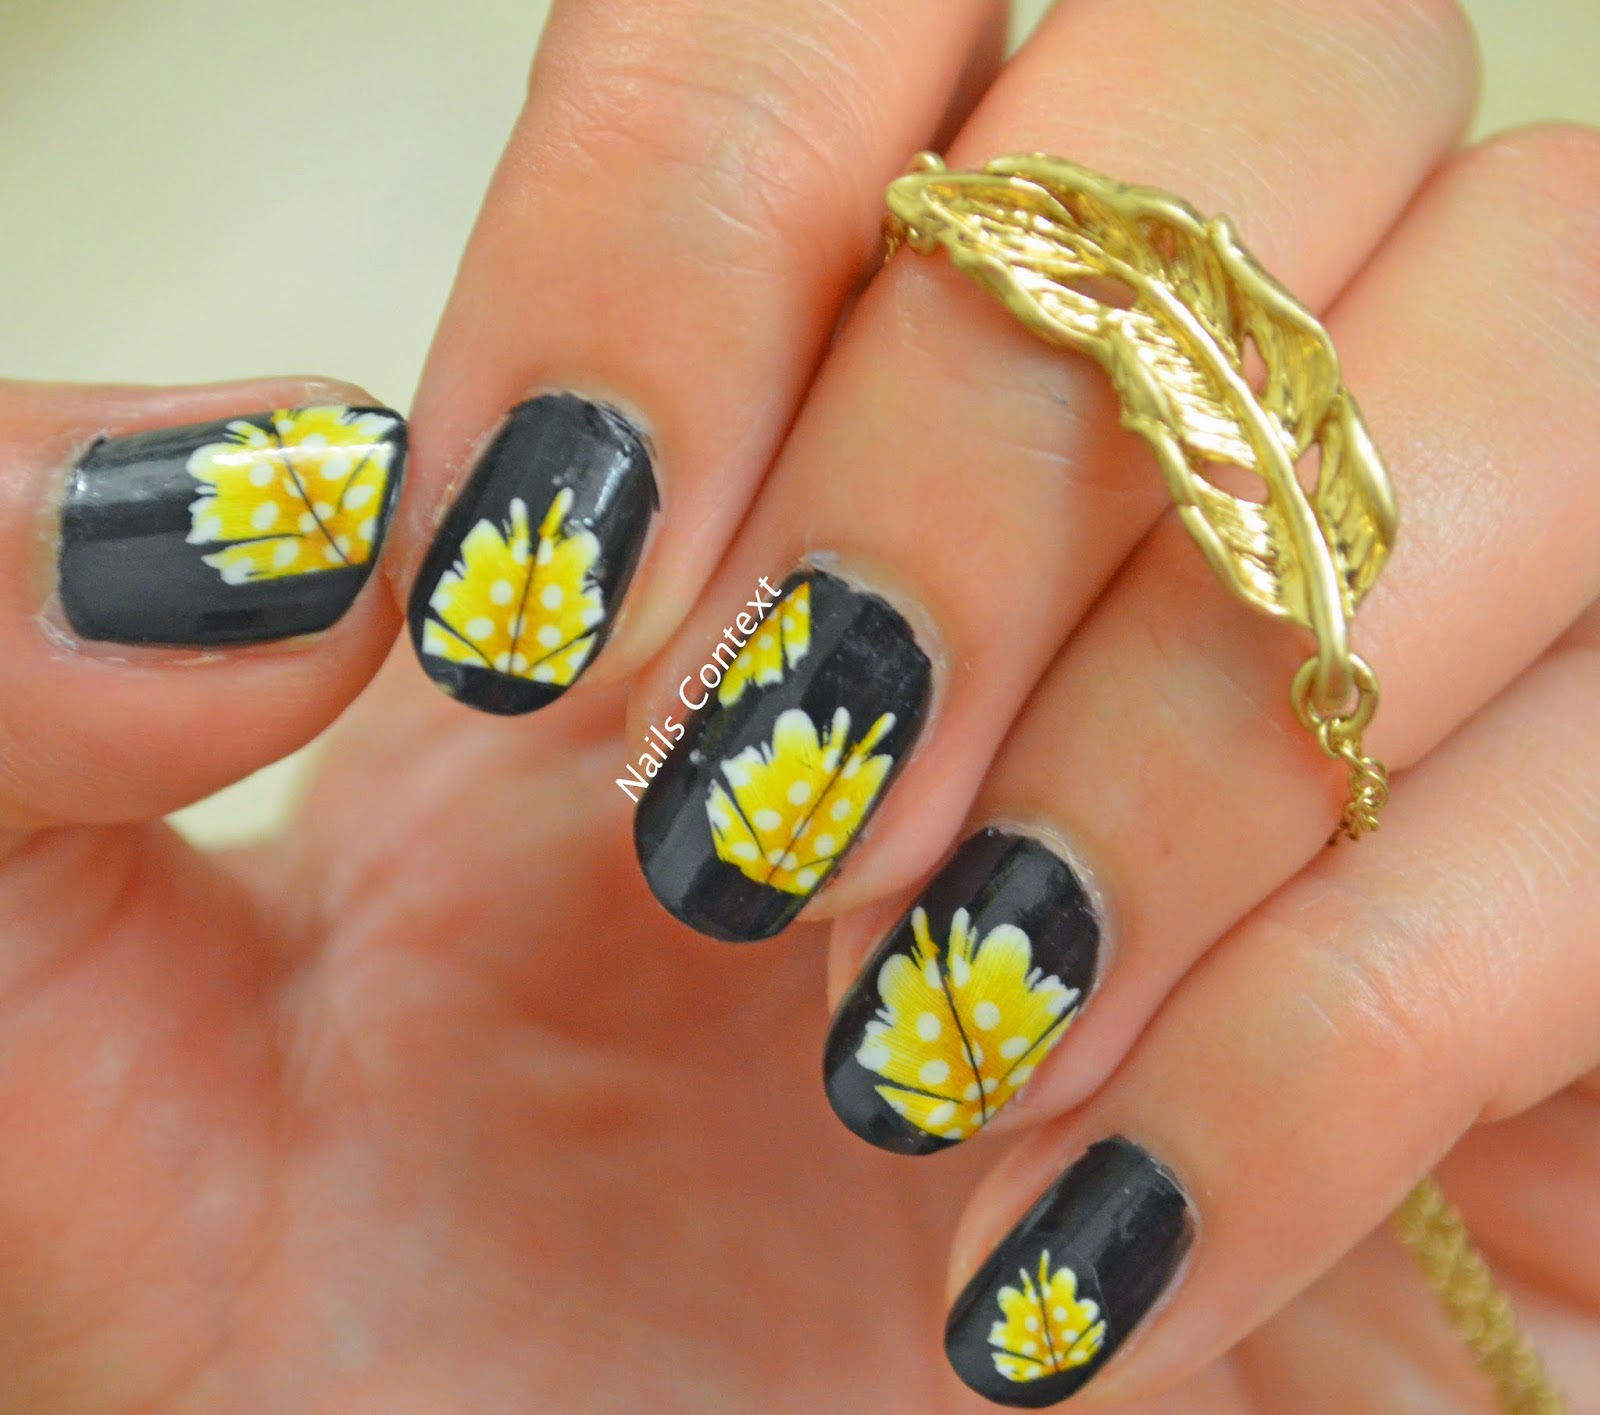
You all must remember my previous water decal nail art, so this time I decided to try another pretty decal from Born Pretty Store. They have some really lovely decals on their website starting from $0.99 to $2.86. This decal is of pretty yellow feather’s which matches perfectly with my Chloe and Isabel Feather jewelry. You can find the pretty feather bracelet here and the dainty feather pendant here.
Feather Bracelet: Chloe and Isabel
To apply the decals is really easy. You have to follow the instructions on the back of the package. First apply the nail polish that you want as the background for these designs and let it dry completely. I used Butter London’s Union Jack Black nail lacquer. Then cut out each design you want to apply on each nail. So I cut out 10 feathers. Then one nail at a time, I put one cutout in a cup of water and let it soak for 10-15 seconds, after which the decal design came out by itself. Then I carefully applied it to the nail and let it stick and dry completely. I sealed it with my favorite top coat. Then repeated the process for rest of the nails.
Feather Necklace: Chloe and Isabel
If you really liked this post and would want to try this technique then try the above mentioned website. You can find my previous nail art water decal here. Don't forget to check out the awesome jewelry by Chloe and Isabel.
To apply the decals is really easy. You have to follow the instructions on the back of the package. First apply the nail polish that you want as the background for these designs and let it dry completely. I used Butter London’s Union Jack Black nail lacquer. Then cut out each design you want to apply on each nail. So I cut out 10 feathers. Then one nail at a time, I put one cutout in a cup of water and let it soak for 10-15 seconds, after which the decal design came out by itself. Then I carefully applied it to the nail and let it stick and dry completely. I sealed it with my favorite top coat. Then repeated the process for rest of the nails.
If you really liked this post and would want to try this technique then try the above mentioned website. You can find my previous nail art water decal here. Don't forget to check out the awesome jewelry by Chloe and Isabel.
May 6, 2014
Multi-color Leaves
I have been scratching my head and thinking really hard lately to come up with unique, never seen before designs. And I am not always successful. But this time I was. I came up with these pretty (If I may say-so my self) feather-like multi-color leaves and decided to give them a try right away.
I started with a base coat of Maybelline's Naturally Cream from their "the nude" collection. You can see it's swatch here. Once it was dry, using the lighter color in the color-combo, with a thin nail art brush, I painted the leaves freehand. Then using the darker color, I added leaves at random places. And once it was dry I added my favorite top coat. The polishes that I have used for Blue leaves are - Wet n Wild's I need a Refresh-mint and Sally Hansen's Blue Me Away. For pink leaves - Revlon's Cupid and Plum Seduction.
Bracelet: From a local store in Sedona, AZ
I started with a base coat of Maybelline's Naturally Cream from their "the nude" collection. You can see it's swatch here. Once it was dry, using the lighter color in the color-combo, with a thin nail art brush, I painted the leaves freehand. Then using the darker color, I added leaves at random places. And once it was dry I added my favorite top coat. The polishes that I have used for Blue leaves are - Wet n Wild's I need a Refresh-mint and Sally Hansen's Blue Me Away. For pink leaves - Revlon's Cupid and Plum Seduction.
Oct 23, 2013
Peacock Nails
Recently my friend sent me a nail design of a peacock mani on facebook and said I should try it, since the design is so awesome. Now those of you who know me, know that I am a sucker for peacocks and peacock related things ( I own a lot of peacock jewelry, clothes, cushions, candles, etc). So how could I let go of an opportunity of painting my nails with peacock nail art? I did this mani to go with my Indian outfit which I wore to an Indian event recently. So here is my version of the picture she sent. The picture didn’t have any watermarks so I don’t know which artist to give the credit for the design.
The polishes that I have used are: Light Green – Sally Hansen’s Green With Envy, Golden – Zoya’s Ziv, Dark Green – Revlon’s Emerald City and OPI's Skip the gift wrap, Light Blue – Wet n Wild’s I need a refresh-mint.
Below is the picture of the original design and I am not sure who the artist is since there are no watermarks on the picture. (Pic credit: Facebook) UPDATE: Found the artist of the above nail art which inspired me: Flightofwhimsy. You can see her design here.
Subscribe to:
Posts (Atom)